

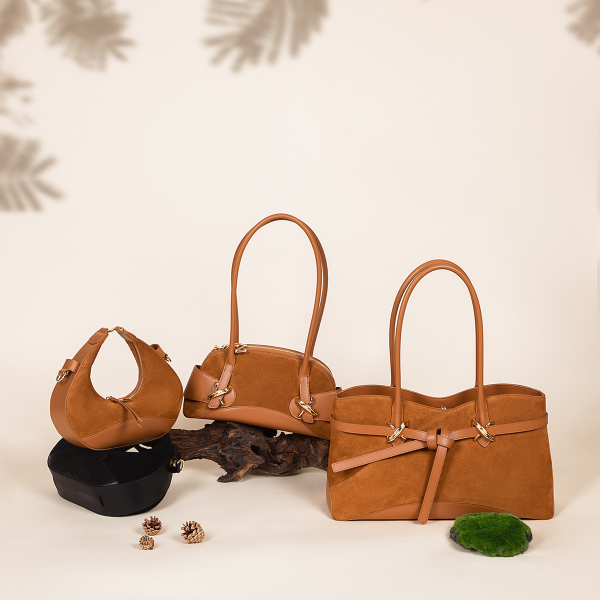
Cómo limpiar y acondicionar un bolso de cuero: Guía de 6 pasos
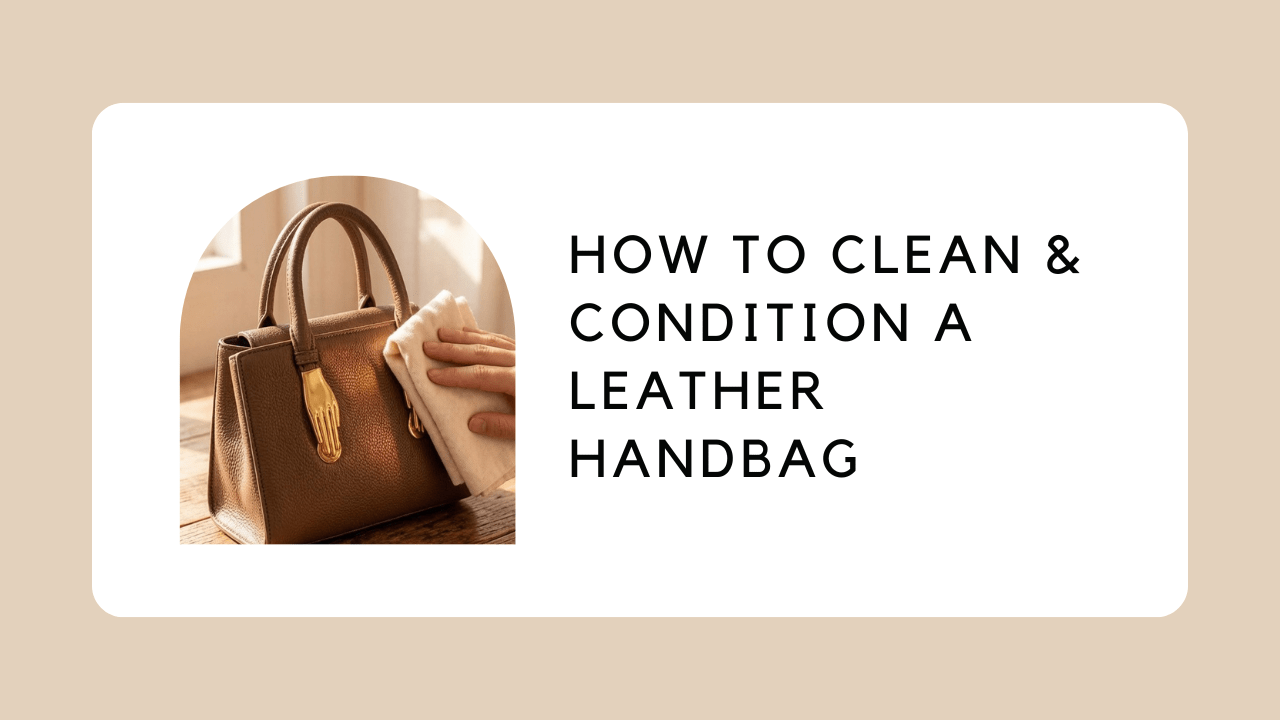
Te compraste un bonito bolso de cuero. Quizás sea el primero de verdad que tienes. Y ahora está en tu estante con una leve mancha de agua cerca del cierre, y te da miedo tocarlo porque has oído historias de terror. El bolso que se puso negro después de mojarse. El que se secó y se agrietó. El que volvió de una "limpieza profunda" oliendo a saldo.
Aquí está la buena noticia. El cuero es más resistente de lo que se cree en internet. Con el cuidado adecuado y algunas reglas básicas sobre lo que nunca se debe hacer, un buen bolso lucirá mejor al quinto año que la mayoría de los bolsos al sexto mes.
Nos dedicamos a fabricar bolsos de cuero, así que esta es la misma rutina de cuidado que les damos a nuestros clientes. No se necesitan productos sofisticados. La mayoría de los pasos se pueden seguir con ingredientes que ya tienes en tu cocina.

Lo que necesitarás (antes de empezar)
No necesitas un estante lleno de productos para el cuidado del cuero. Necesitas cinco cosas, la mayoría de las cuales ya tienes:
| Artículo | Por qué lo necesitas | ¿Te lo saltas? |
|---|---|---|
| Paños de algodón suave (Una camiseta vieja sirve) | La herramienta principal para limpiar, acondicionar y pulir. | Nunca uses toallas de papel; son demasiado abrasivas. |
| Cepillo de cerdas suaves (cepillo de dientes de crin de caballo o de bebé) | Elimina el polvo de las costuras, los pespuntes y las esquinas. | No se deben usar cepillos de fregar rígidos. |
| Agua destilada (o agua hervida y enfriada) | El agua corriente es el único "limpiador" que la mayoría de las bolsas necesitan. | El agua del grifo deja marcas minerales |
| Acondicionador de cuero (crema o bálsamo, sin silicona) | Reemplaza los aceites naturales para que el cuero no se reseque. | Nada de betún para zapatos, nada de aceites de cocina. |
| bolsa de algodón o funda de almohada | Para el almacenamiento: el paso que la mayoría de la gente se salta. | Nunca lo guarde en la bolsa de plástico para el polvo. |

Una cosa más antes de empezar: comprueba de qué material está hecha realmente tu bolso. Si no estás seguro de si es de plena flor, de grano superior o algo que pretende ser cuero, consulta nuestra Siete pruebas caseras para distinguir el cuero auténtico del falso. Primero, la rutina que se describe a continuación es para cuero auténtico. Si tu bolso es de cuero regenerado o tiene un recubrimiento grueso, el acondicionamiento puede empeorar su estado; hablaremos de eso más adelante.
La regla de oro: primero realiza una prueba de parche.
Esta regla salva más bolsos que cualquier técnica de limpieza. Antes de aplicar agua, acondicionador o limpiador en cualquier parte visible, pruébalo en una zona poco visible: el interior de la solapa, la parte inferior de una correa o la costura inferior. Aplica una pequeña cantidad con un hisopo de algodón, espera diez minutos y observa dos cosas: ¿El color se transfiere al paño? ¿La mancha se oscurece y permanece oscura?
Si la respuesta a cualquiera de las dos preguntas es sí, detente. Tu bolso tiene un acabado delicado o muy teñido, y el agua por sí sola puede mancharlo. Ese bolso debe ir a un profesional, no al fregadero de tu cocina.

Paso 1: Quitar el polvo y los residuos con un cepillo.
Empiece con la bolsa seca. El polvo y la suciedad suelta son los responsables de la mayoría de los pequeños arañazos que se ven en las bolsas usadas, ya que cada vez que se apoya la bolsa, esa suciedad se incrusta en la superficie. Un cepillo de cerdas suaves, usado con movimientos cortos y ligeros, elimina la suciedad de las costuras y los pespuntes a los que no llega un paño.
Presta especial atención a los pliegues del asa y las esquinas de la base, donde se acumulan las migas y la pelusa. Dedicar dos minutos a esta limpieza te ahorrará tener que fregar después. Si la bolsa está muy polvorienta, dale la vuelta y cepilla hacia la abertura para que la suciedad salga en lugar de que se acumule en el interior.
Paso 2: Limpiar con un paño húmedo.
Esto es lo más parecido a una limpieza profunda que la mayoría de los bolsos de cuero necesitarán. Toma un paño suave, humedécelo con agua destilada y escúrrelo hasta que esté ligeramente húmedo. No empapado. Si al apretarlo cae una gota, está demasiado mojado. El objetivo es eliminar la suciedad superficial, no empapar el cuero.
Limpie con movimientos rectos y uniformes, siguiendo la veta natural del cuero. No frote en círculos ni presione con fuerza. Para manchas pegajosas o secas, deje reposar el paño húmedo sobre la mancha durante treinta segundos para ablandarla y luego limpie una sola vez. Cuando el paño recoja suciedad, cambie a una sección limpia; de lo contrario, la suciedad se extenderá de nuevo.

Deja que la bolsa se seque completamente al aire a temperatura ambiente antes de continuar. Esto puede tardar unas horas. No aceleres el proceso ni uses un secador de pelo: el calor es una de las maneras más rápidas de dañar el cuero, y enseguida te daremos la lista completa de cosas que no debes hacer.
Paso 3: Tratar las manchas puntuales (si las hay)
La mayoría de las manchas cotidianas (suciedad ligera, manchas de café, restos de comida) se quitan con el paño húmedo del paso 2. Si alguna mancha persiste, aquí le mostramos cómo tratar las tres más comunes:
marcas de agua. El clásico anillo que queda cuando un vaso mojado o la lluvia se posan sobre la superficie. Sorprendentemente, la solución suele ser humedecer más: humedezca uniformemente todo el panel con un paño (¡pruebe primero en una pequeña zona!), déjelo secar extendido y el anillo generalmente desaparece. Un acondicionador ligero después ayuda a disimular el borde.
Aceite y grasa. No frotes. Frotar empuja el aceite más profundamente en las fibras. Espolvorea maicena o talco sobre la zona, déjalo actuar toda la noche y cepíllalo por la mañana. El talco extrae el aceite al secarse. Repite una vez si es necesario y luego acondiciona la zona.
Tinta. Este caso es delicado. Un hisopo de algodón humedecido en alcohol isopropílico, aplicado suavemente sobre la mancha (nunca frotando), puede eliminar la tinta fresca. Sin embargo, el alcohol elimina el tinte, por lo que es arriesgado en cuero de color y es imprescindible hacer una prueba en una zona poco visible primero. Si la tinta lleva varios días seca, lo mejor es llevarlo a un profesional. La reparación es más económica que un bolso arruinado.

Paso 4: Acondicionar el cuero
El acondicionamiento es el paso que marca la diferencia entre un bolso que dura diez años y uno que se agrieta a los cinco. El cuero es piel. Contiene aceites naturales que mantienen las fibras flexibles, pero con el tiempo, el sol, el aire y el uso diario resecan esos aceites. El acondicionador los repone.
Esta es la técnica que enseñan en las curtidurías: aplica una capa fina y uniforme de acondicionador con un paño limpio, con pequeños movimientos circulares, y distribúyelo sección por sección. Menos es más. Una cantidad del tamaño de un guisante por panel es suficiente: el cuero absorbe lo que necesita y el resto se queda en la superficie, atrayendo polvo. Si después el cuero se ve húmedo y grasoso, has usado demasiado. Retira el exceso y no repitas esa cantidad la próxima vez.
Deja que el acondicionador actúe durante al menos una hora, idealmente toda la noche. Notarás que el cuero se siente más suave y el color se intensifica ligeramente. Esto es normal, y ese es el objetivo.

Elige un acondicionador que no contenga silicona ni derivados del petróleo. Ambos se depositan en la superficie y pueden obstruir los poros del cuero, impidiendo que respire y provocando que el acabado se desprenda. Una crema o bálsamo sencillo con cera de abeja, lanolina o aceites naturales es todo lo que necesitas.
Paso 5: Déjalo reposar y luego pule.

Una vez que el acondicionador se haya absorbido, pula la bolsa con un paño seco y limpio. Realice movimientos cortos y firmes, siguiendo la dirección de la fibra. Esto ayuda a que el acondicionador penetre en la superficie, elimina cualquier residuo y devuelve un brillo suave y natural. No se trata de lustrar zapatos; se busca un brillo sutil, no un resplandor de espejo.
Luego, deja reposar el bolso durante un día completo antes de usarlo. Esto es más importante de lo que se piensa. El cuero necesita tiempo para reabsorber los aceites de manera uniforme, y si se vuelve a usar a diario demasiado pronto, pueden aparecer zonas irregulares donde el acondicionador se aplicó en mayor cantidad.
Paso 6: Guárdalo correctamente
Limpiar es un momento. Almacenar es un estilo de vida, y es donde la mayoría de las bolsas mueren silenciosamente. Tres reglas:
- Rellénalo, no lo dobles. Rellena la bolsa sin apretar con papel de seda o una camiseta vieja para que conserve su forma. Si se aplasta, se formarán pliegues permanentes.
- Algodón, no plástico. Guárdalo en una bolsa de algodón o una funda de almohada. La bolsa de plástico en la que venía el bolso retiene la humedad y provoca moho; tírala o reutilízala, pero nunca guardes el bolso dentro.
- Fuera del sol, fuera del suelo. La luz solar decolora y reseca el cuero. La humedad lo pudre. Un estante en el armario, lejos de ventanas y radiadores, es ideal. Si vives en un lugar húmedo, añade una bolsita de gel de sílice.

¿Con qué frecuencia deberías hacer esto?
| Frecuencia | ¿Qué hacer? |
|---|---|
| Después de cada uso | Limpiar con un paño seco, vaciar las migas y los recibos. |
| Cada 2-3 meses | Limpieza completa con el paño húmedo y luego acondicionar. |
| Una o dos veces al año | Limpieza profunda, acondicionamiento y revisión de herrajes y costuras. |
| Cambio de estación | Acondicionar antes de un almacenamiento prolongado; volver a revisar las bolsas almacenadas para detectar moho o sequedad. |
La frecuencia de uso del bolso es más importante que el calendario. Un bolso que se usa a diario en verano, expuesto al sol constantemente, necesita acondicionamiento cada dos meses. Un bolso que se usa dos veces al mes puede pasar hasta seis meses entre tratamientos. Cuando el cuero empieza a sentirse seco o ligeramente áspero al tacto, esa es la señal, no la fecha.
Lo que NUNCA debes hacerle a un bolso de cuero.
- No lo dejes en remojo. El agua, o peor aún, el detergente, elimina los aceites naturales y puede endurecer y deformar el cuero de forma permanente.
- No utilice calor. Nada de secadores de pelo, ni radiadores, ni salpicaderos de coche en verano. El calor reseca el cuero más rápido que cualquier otra cosa y hace que se agriete.
- No utilice aerosoles "limpiadores de cuero" por defecto. Muchos contienen alcohol o disolventes agresivos que dañan el acabado. Utilice siempre primero un paño húmedo.
- No utilice betún para zapatos ni jabón para cuero destinado a botas de trabajo. Son demasiado agresivos para un bolso delicado y pueden dejar residuos oscuros en las costuras.
- No lo guarde en plástico. Ya se ha comentado anteriormente, pero merece la pena repetirlo: el plástico retiene la humedad, la humedad genera moho, y el moho es el fin del juego.
- No lo cuelgues por las asas. Con el paso de las semanas, el peso estira las asas. Mejor colócala en posición horizontal o sobre una estantería.
Cuidado según el tipo de cuero: No existe una rutina única para todos.
Si has leído nuestra guía sobre cuero de plena flor frente a cuero de grano superior frente a cuero regeneradoYa sabes que las calificaciones envejecen de forma muy diferente. Lo mismo ocurre con los cuidados:
Piel de plena flor Absorbe el acondicionador como una esponja y lo recompensa con una rica pátina. Acondiciónalo generosamente dos veces al año y lucirá mejor cada año.
Piel de grano superior Tiene un acabado protector, por lo que necesita mucho menos acondicionador; una vez al año es suficiente. Acondicionar en exceso una bolsa de cuero de grano superior puede hacer que el acabado se vea opaco.
Cuero genuino o con revestimiento grueso Apenas absorbe nada. Olvídate del acondicionador por completo; simplemente límpialo. Si es cuero regeneradoNo lo acondiciones en absoluto. No tiene una textura natural que nutrir, y el acondicionador puede aflojar la capa que mantiene unidos los retazos. El cuero regenerado no se puede recuperar, solo reemplazar.
¿No estás seguro de qué grado tienes? La prueba de borde sin pulir en Nuestra guía para distinguir entre lo real y lo falso Lo resuelve en diez segundos.
En ZORNNACada bolso de piel de plena flor que fabricamos se envía con una tarjeta de instrucciones de cuidado basadas en esta misma rutina, porque un bolso bien cuidado es un bolso que se conserva. Piel de plena flor, curtidurías con trazabilidad y artesanos que prueban cada piel antes de dar la primera puntada.
Compra bolsos de cuero de plena florPAG.S¿Vas a comprar tu primer bolso de cuero? Nuestro servicio gratuito Guía definitiva para comprar bolsos de cuero Abarca calificaciones, cálculos de precios y la lista de verificación de 12 puntos antes de gastar un dólar.
Preguntas frecuentes
¿Cómo puedo limpiar un bolso de cuero sin dañarlo?
Empiece con la piel seca: cepille para quitar el polvo, luego limpie con un paño ligeramente húmedo con agua destilada y siempre haga una prueba en una zona poco visible antes de aplicarla. Deje secar al aire y luego aplique un bálsamo para cuero sin silicona. Evite remojarla, el calor y los limpiadores agresivos.
¿Con qué frecuencia debo acondicionar un bolso de cuero?
Para un bolso de uso diario, cada 2 o 3 meses. Para un bolso que se usa ocasionalmente, una o dos veces al año. Aplique el acondicionador cuando el cuero se sienta seco o ligeramente áspero al tacto; esa es la señal, no el calendario.
¿Puedo usar aceite de oliva o aceite de coco en mi bolso de cuero?
No. Los aceites de cocina pueden enranciarse, oscurecer el cuero de forma irregular y obstruir los poros. En su lugar, utilice un acondicionador de cuero adecuado con cera de abeja, lanolina o aceites naturales; está diseñado para absorberse completamente.
¿Cómo puedo quitar una mancha de agua de un bolso de cuero?
Humedezca uniformemente todo el panel afectado con un paño húmedo, déjelo secar extendido y, por lo general, el anillo desaparecerá. Luego, aplique un acondicionador ligero. Si el anillo persiste después de dos intentos, un profesional puede reacondicionar el panel.
¿Puedo meter un bolso de cuero en la lavadora?
Jamás. Las lavadoras remojan, agitan y centrifugan el cuero, lo que elimina sus aceites naturales, deforma su forma y puede dañar permanentemente el acabado. Siempre límpielo a mano con un paño húmedo.
¿Cómo debo guardar un bolso de cuero para que dure más tiempo?
Rellénala sin apretar con papel de seda, guárdala en una bolsa de algodón (nunca de plástico) y colócala en una estantería alejada de la luz solar, los radiadores y la humedad. Revisa las bolsas guardadas cada temporada para comprobar si presentan moho o sequedad.
La línea de fondo
Limpiar un bolso de cuero no es complicado y no requiere un cajón lleno de productos especiales. Cepillar. Limpiar. Tratar las manchas. Acondicionar. Dejar reposar. Guardar. Seis pasos, ninguno difícil, y todo el proceso cuesta menos que una visita a una zapatería.
Los bolsos que se estropean pronto no son los que se ensucian. Son los que se mojan, se secan con calor, se guardan en plástico o nunca se acondicionan. Sigue estos seis pasos cada pocos meses, evita las recomendaciones y ese bolso que tanto te gusta hoy seguirá siendo el que elijas dentro de diez años.
 Author: Seuruyalvi - Chief Designer
My name is Seuruyalvi, as the chief designer at ZORNNA, I am responsible for overseeing the creative direction of the brand, from conceptualization to final product design.
Publicaciones de blog

Bolso de piel tipo tote vs. bandolera vs. bolso de mano: ¿Qué estilo deberías comprar?
Entra en cualquier tienda de bolsos de piel y verás las mismas tres siluetas: el bolso tote abierto, el bandolera para tener las manos libres y el bolso estructurado. Todos son preciosos, pero no s...
Leer más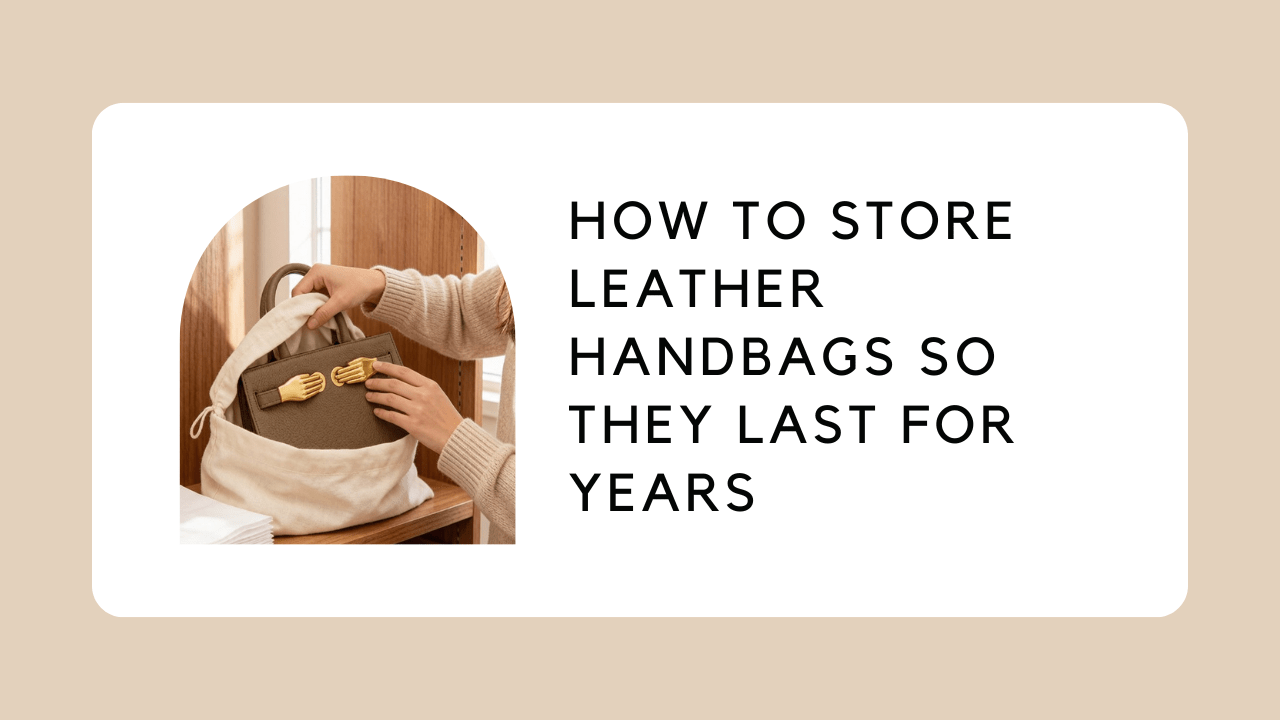
Cómo guardar los bolsos de cuero para que duren años
Este es un patrón que vemos constantemente. Alguien compra un precioso bolso de cuero, lo usa con cuidado durante una temporada, luego lo guarda para el verano y lo deja de lado. Ocho meses después...
Leer másCómo limpiar y acondicionar un bolso de cuero: Guía de 6 pasos
Te compraste un bonito bolso de cuero. Quizás sea el primero de verdad que tienes. Y ahora está en tu estante con una leve mancha de agua cerca del cierre, y te da miedo tocarlo porque has oído his...
Leer más
